Sunday, 2 September 2018

Kinchina Conservation Park

A fabulous Sunday morning near the end of Winter, with many race followers heading to The Bend for the OTR Supersprint. I, instead headed to Kinchina Conservation Park, after dropping off my race goers at The Bend.
It took a bit of searching to find the entrance, which is off Tower Road. (Just be careful as when I entered Kinchina in Google Maps, it directed me to Ferries MacDonald). Not a great deal of parking here, or ou can park off the Old Princess Highway. See map.

https://www.environment.sa.gov.au/files/sharedassets/parks/parks/murray-river/kinchina-conservation-park/kinchina-conservation-park-map.pdf

The trail map is also available on Avenz map app.

You start off on Jailbreak trail, which crosses a sandy hill, then into a woodland area, to Maurice Road. I then headed back to Jailhouse Rocks loop, across the road, to Getaway Car loop, across Rocky Gully link (a bit more challenging), and back onto Jailbreak trail. Crossing Maurice Road again, then towards Jailhouse Rocks loop, before returning to the carpark. 13km and a hour and three quarters.
Park entrance gate.
Jailbreak Trail.

View towards Murray Bridge township.


More Jailbreak trail.
Jailhouse Rocks


Tuesday, 5 June 2018

Shepherd's Hill and Avenza Maps

Another fab morning for riding. Train from Mitcham to Eden Hills, then into the reserve. The main reason for today's outing was not just to ride, but to test out Avenza Maps (downloadable app). The South Australian department of Environment has all their park maps available for free on Avenza Maps, and using the app with GPS you can track where you are along the trails within the park you are visiting.
I used the app a couple of times (as long as the phone has GPS signal) and it showed my location along the trail been ridden. Sometimes you ride off down a trail, and at the end it is where the hell are you!
Today I undertook the intermediate downhill trail #1. Actually did this trail twice. Would have ridden it again, but of course, every time you go down, you have to go back up, and some of the hills are steep, and was loosing traction riding.


Looking back down 'River Red Gum Loop'
Intermediated downhill
My second ascent was up Grey Box loop, which was not quite as steep as my first ascent of River Red Gum loop.

Grey Box loop
An opps moment, hitting the dirt, actually grass thankfully, when my rear tyre clipped a small tree stump. Happened on a downhill link trail.
Need some knee protectors, but the ones I want are currently out of stock world wide! Other than that, had a great morning riding.

Monday, 4 June 2018

Mitcham Reserves

Headed out to ride some trails in the Mitcham hills Reserves. Caught the train from Mitcham station to Eden Hills, and what a day to go riding. A fine winters day, and sunny: the city was covered in fog this morning. Entering the Shepherds Hill Reserve, you travel down a steep slope with not too much spare room at the bottom to stop, or you will hit the reserve boundary fence and entrance. It was then along Boundary Track, onto Ridge track right upto the Ayliffes Road entrance. The track  was hard and dry, which was surprising since the rain we have had recently: then it was back UP towards the Saddle Hill Fire track. In te reseserve, then trails have different names, which made it confusing, with the route that I had planned off the maps.

Shepherds Hill is part of the Department of Enironment, then continuing on, the reserves are part of the Mitcham Councils recreation areas.

At the end of this track, there is a short connector through the houses to O'Dea's Reserve, onto Blue ridge track and O'Deas X Over (one of two routes which will cross the rail tunnels). One is a vehicle fire track, the other a single bike track through the bush land, with some rocky up and downs and a steepish decent.
From there it was into Lynton Reserve (after taking a wrong route, and having to back track). Also remember, that Watiparinga Reserve is in this area, where no bikes are allowed.
In Lynton Reserve, rode along Quarry Access track/Loop, then onto Lynton Connector, down to Lynton Railway Station.
From Lynton, it was a road trip back through Clapham to Mitcham Station.

Shepherds Hill Recreation Park map.
https://www.environment.sa.gov.au/files/sharedassets/parks/parks/adelaide/shepherds-hill-recreation-park/shepherds-hill-recreation-park-optimised-map.pdf

https://www.mitchamcouncil.sa.gov.au/webdata/resources/files/Mitcham%20Trails%20Zone%203%20-%20DEC%202015.pdf

https://www.mitchamcouncil.sa.gov.au/webdata/resources/files/Zone%202%20Map%202016.pdf

Along Boundary Track


Along Blue Ridge track.


Along O'Dea's X over
Along Lynton Connector.

Wednesday, 2 May 2018

Upgrades and new shocks

On an entry level hardtail, consider the following to be important when planning upgrading your bike. The first would be a good set of tyres; checking details on tyre characteristics for the type of terrain and conditions of riding surface you might encounter. A new handlebar, or at least a shortened stem; new pedals (these will improve your riding) and then the next two; probably the most expensive, a dropper seat post: if can be fitted, and new shock forks.

My Avanti came with Suntour M3030 front shocks, and hidden on the rear was a yellow sticker, that said, "WARNING, use only for leisure cross country. Not not use for Freeride/downhill/dirt jumping or any hard riding. Improper use of this fork can result in fork failure and personal inqury".
Actually, that means if you ride anything off a pathway, the fork may fail.

What forks to purchase? Remembering it would be silly to put some Fox forks on the bike, which would have a value two to three times the bike, I looked at forks in the couple of hundred dollar range, initially looking at Manitou forks and lower end Rockshox's.
Sometimes you get lucky, as I came across Merlin Cycles, in the UK, selling 2017 Rockshox RL30 gold 9mm QR straight 1 1/8" tube fork, for half price, with free postage.

Next, I decided to change out the headset.
Determining that the bike had semi-intregated headset (a budget Cane Creek) what do you replace it with? Could go Hope or a better quality Cane Creek, but decided on Nukeproof, a mid range headset top and bottom cups.
The originals were knocked out, and using a device taken from Youtube, the new ones were pressed back in.
Thisto'press' involved a piece of long thread some mud guard washers and some smaller washers and nuts it fit. I use the card, as it stopped the washers from slipping on the cups. Top then bottom.

Using a Nukeproof headset, I used a Nukeproof crown race, which just press fits onto the forks steerer tube, then the spacers and stem with bars were re-positioned to mark where to cut the steerer tube.
The finally assembly, I decided to have professionally done: to get the steerer tube cut and the star nut installed, as I did not have the tools for this.


I now have some quality air forks with a 100mm travel, instead of the 75mm Suntour. The only other purchase was a shock pump.


Saturday, 21 April 2018

Pony Ridge Trail

A day off from work and a day that was not too hot, coming to the end of summer. Drove to Belair National Park, in the hills around Adelaide, to ride the Pony Ridge Trail and into Brownhill Hill Creek reserve along the bike trail.
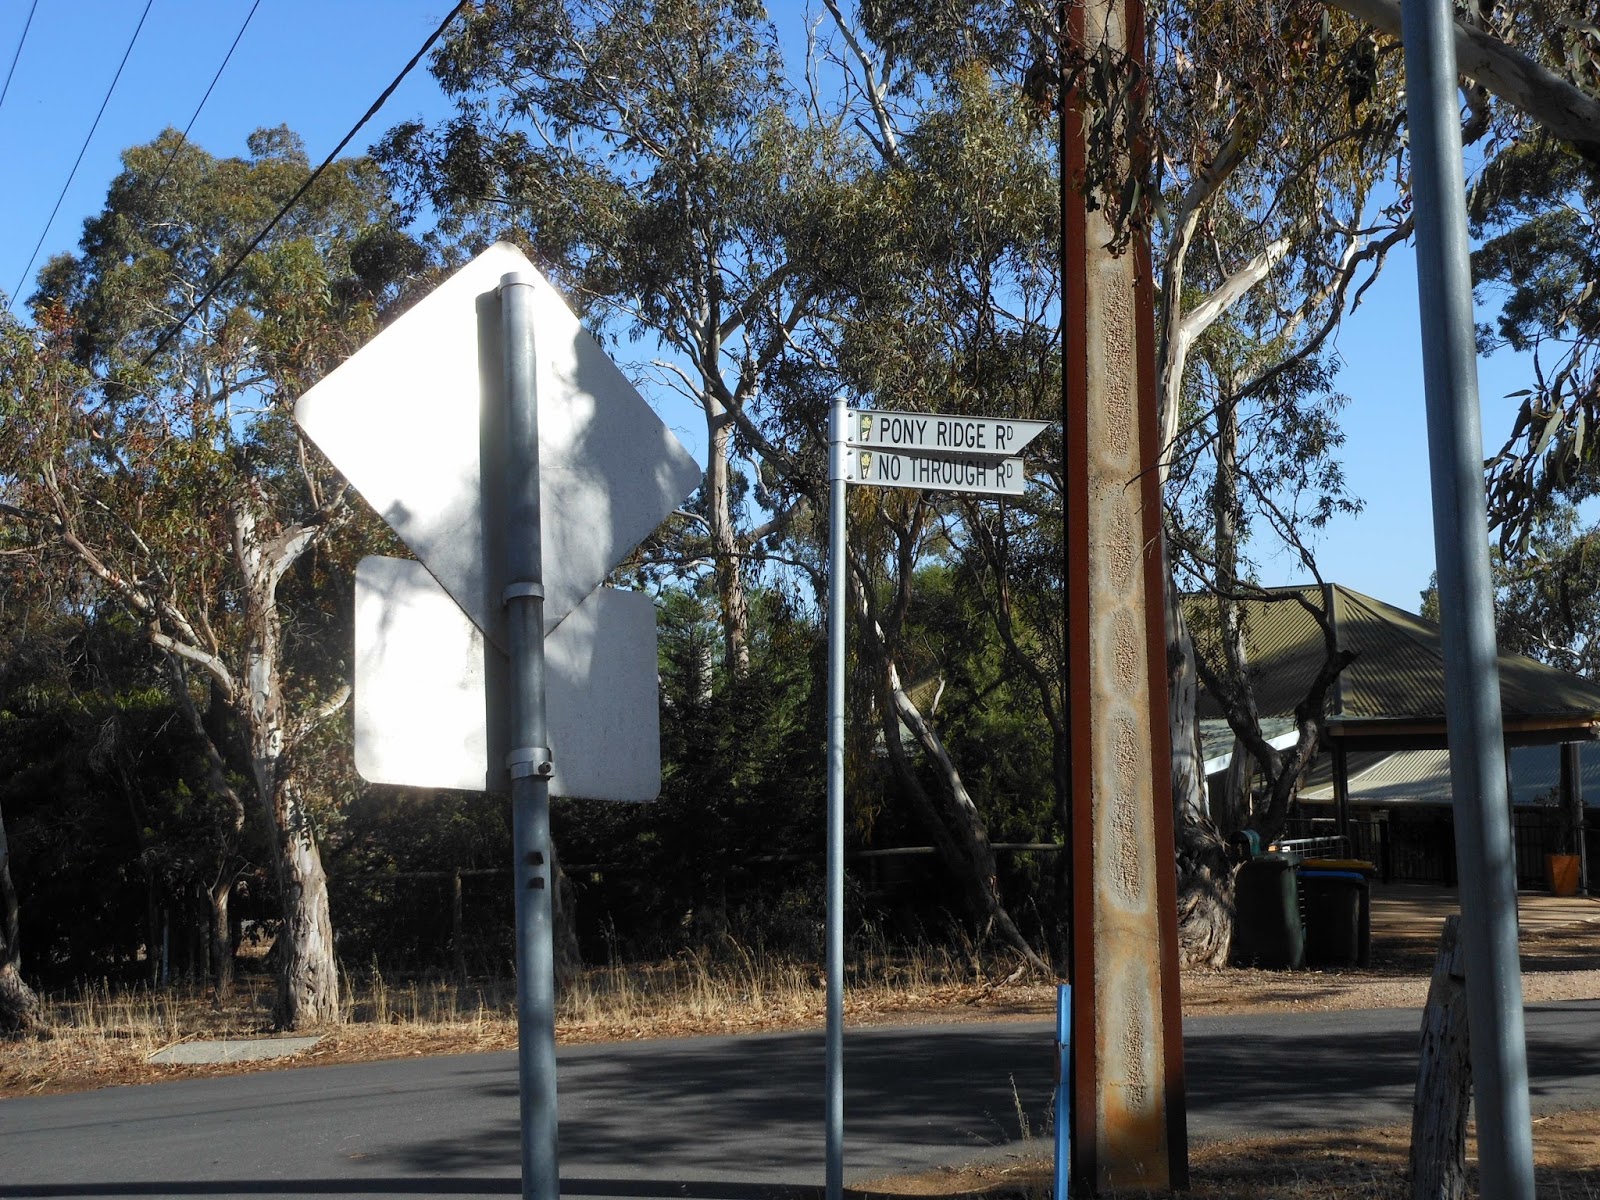
I entered the Park at Sir Edwin Avenue and then almost straight away onto Lodge Track, till the turn off, to cross the main railway line, and exit the park. Pony Ridge Road is about 50m to the west along Sheoak Road.

Map off Google Maps, trail marked in Red.

Lodge Track
Rail Crossing

Pony Ridge Trail starts just down the road, actually part of the Yurrebilla walking trail, and descends quickly down the slope on a fairly steep and rocky track. The trail soon turns to a zig zag down to the bottom, some sharp turns and rock retaining wall, onto the road.

Part of the steep decent on Pony Ridge Trail.
Looking up from the Switch backs.
At the bottom, there is a short ride along some bitumen before entering Brownhill Creek Reserve, and onto the trail which starts/finishes on the northern side of the Brownhill Ck Road, which follows the creek course. The trail crosses the road just near the old 'Manure Pits' and passes along the side of the road to White Bridge. Here there are two trails, one carries along the side of the road, the other through a 'gate' and along the back track. (Marked on the map as Wirraparinga Trail).

Shared use trail.
Wirraparinga Trail.

This part of the trail I use to ride when I was a teenage on a heavy road bike (I still have the frame for this bike).  It comes out onto Northbrooke Avenue, then it is a ride through the streets of Mitcham village to Mitcham Railway Station, where to catch the train back to Belair. (This day I was lucky, as the train arrived just as I rode into the station car park).

Not quite in the bike area, that was already taken.

Arrival in Belair.

Taking your bike on Adelaide Metro trains. Between the hours of 9am and 3pm, and after 6pm till end of service, it is free, where space is available to travel with your bike, along you have a valid metrocard or ticket. Outside these hours, the bike must also have a ticket. Weekend and public holidays, bikes are free, where space exists.


Saturday, 14 April 2018

Health check


What has a cat got to do with riding. Dear Bertie was almost 20yo when we lost him, and on the trip to the vet, while he was having convulsions he bit my arm, which slowly started to get a nice red colour. Well better see a doctor in case it was infected, but by the time the appointment came, the swelling had reduced, but the docotr decided while I was there he should take my blood pressure.
Need less to say it was heading into the dangerous regions of been too high. Various tests later and I was started on blood pressure medication.
Who knows how high it would have been if I had not been riding and swimming. Best to get checked out.

I had already had minor diet changes, with eating more fibre in the morning for breakfast, and increased my fruit intake, (just have to get the wife to decrease my dinner portions) as had lost some weight, but more importantly I have dropped a size around the waist. Need to reduce the stomach size, as working a a position where I come into contact with guys with very large guts gives the shivers.

Sunday, 31 December 2017

Dropper post for a hardtail

Another upgrade. This time I decided to fit a dropper post to my hardtail. I obtained a Brand X post from Chain Reaction Cycles, during their black Friday sale period, paying around half the retail price. A great amount of thought went into deciding which post to obtain, as they now have an external activated post in the line up.
Being a hardtail, I did not want a cable around the pedal cranks so I decide to do the unthinkable and drill three holes in the frame, and opted for the internal routed cable of the Ascend Post. After reading the instructions where it is warned not to drill holes in your frame, mainly due to loosing your warranty.  I checked this out, and my bike only had a 12 month warranty, which virtually only covers you if you ride softly.

I, firstly mounted the activating lever, making sure there was room to operate my gear levers. (one day these might disappear), but till then this works, finding the best position to activate the lever with aid of the operating cable.
First of all, I followed generally, the instructions from the follow video on how to drill holes into the frame. https://www.youtube.com/watch?v=PFmN8cQDiaU
The difference was that I used a Dremell drill with a metal grinding tool, to enlarge, after drilling the first pilot holes, instead of all that filing. The file came out only to finish off the edges. As seen in the photo below, I then fitted a Vitus Bikes Zenium Internal Brake Cable Guide, which press fits into the hole. I then guided the cable housing in through and down the frame.


Next step, was the second hole. This was easier than the first, then hole three. I used a small hook to pull through the cable wire, then the housing, then slipped on the cable guide. These were not pressed in till all was fine with the holes.
Finally, I pulled through the cable to a point ready to cut the excess off, remember to take in account that the seat post has to go back into the tube, and not having too much at the handle bars. (Remember to allow for swing).


Also note: the collar of the seat tube should be as low as possible, so that the seat drops as low as it can to the bike frame.
The final component change to come, is to replace the seat clamp, from  the quick release, to a bolt type, as the quick release is no longer required.
And of course to test, which I did on a recent training ride, operating the post of a down hill run. Gives more stability when descending steep hill, as ones center of gravity is lower across the rear wheel, then on the level, just press the lever and the seat pops back up.


Three months down the track and no signs of any problems, yet.The scratches were from the drill when I started, Will cover with a name sticker shortly.


March 20128